ECO-FLAME STOP GYM
GYM FLOORING WITH BFL S1 TESTED FIRE REACTION

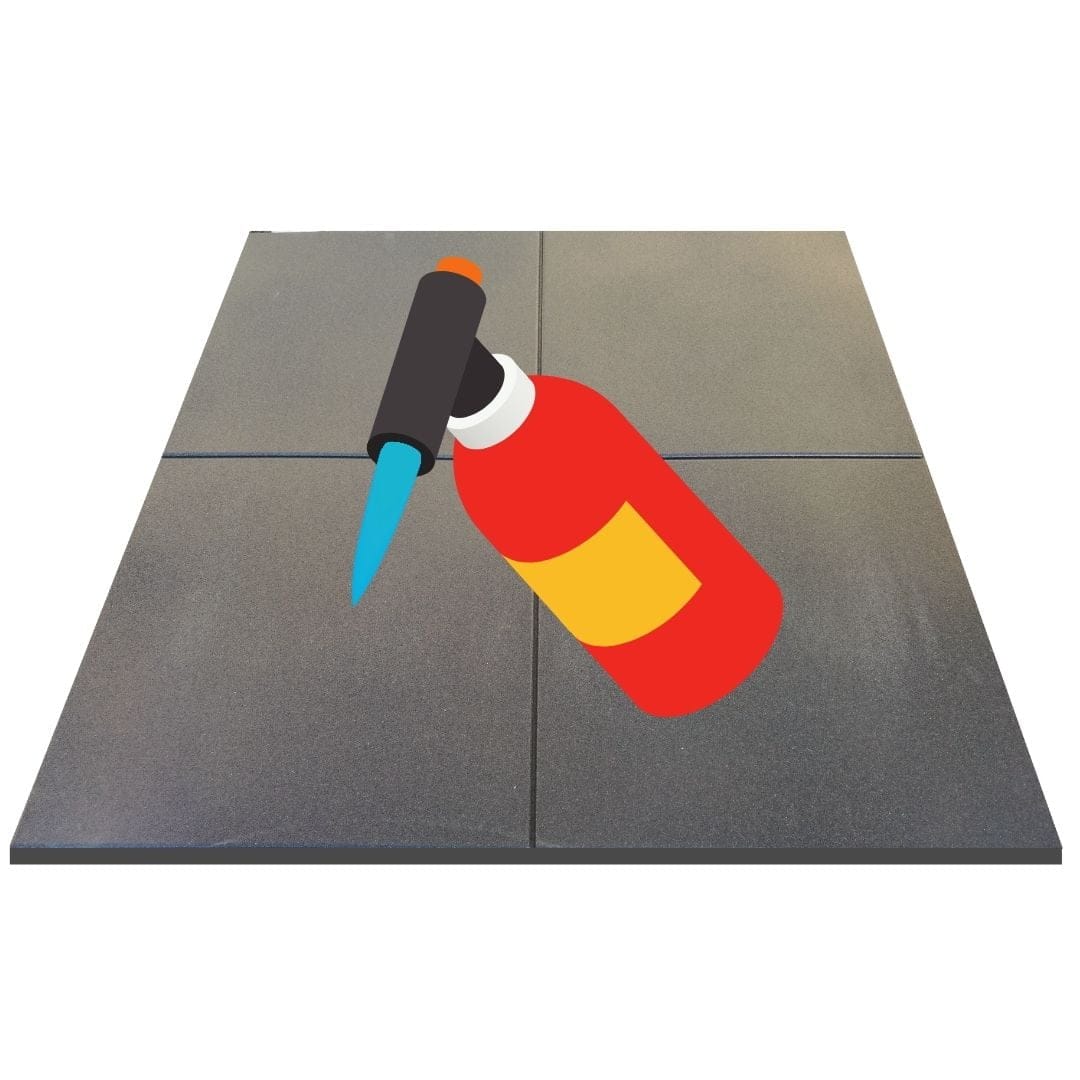
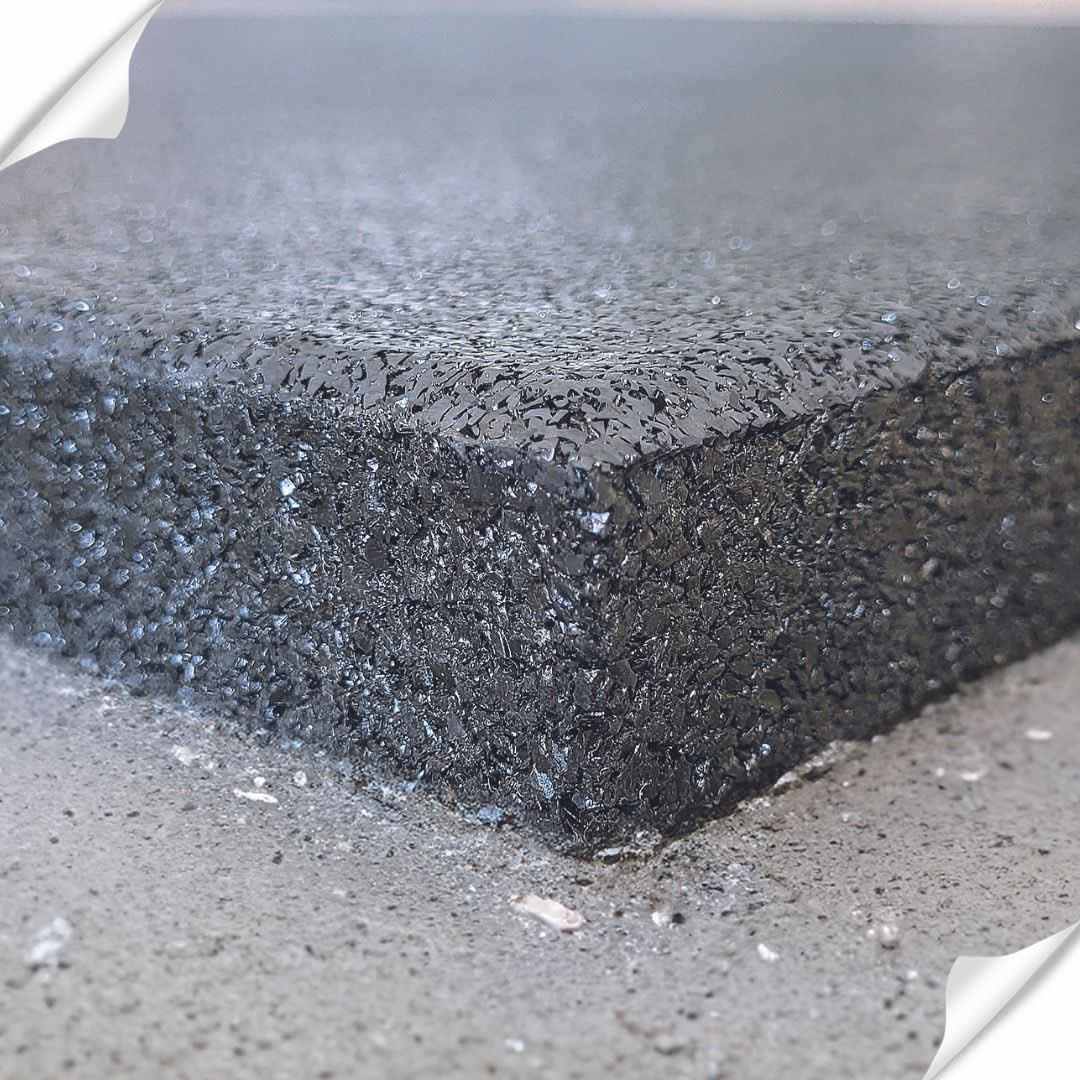
ECO-FLAME STOP GYM is the Bfl-s1 tested fire rating flooring, specially designed for gyms, fitness rooms and sports environments where fire safety is critical. Thanks to its innovative structure, it offers high performance in terms of resistance, comfort and protection, while ensuring easy installation and optimal durability.
Features
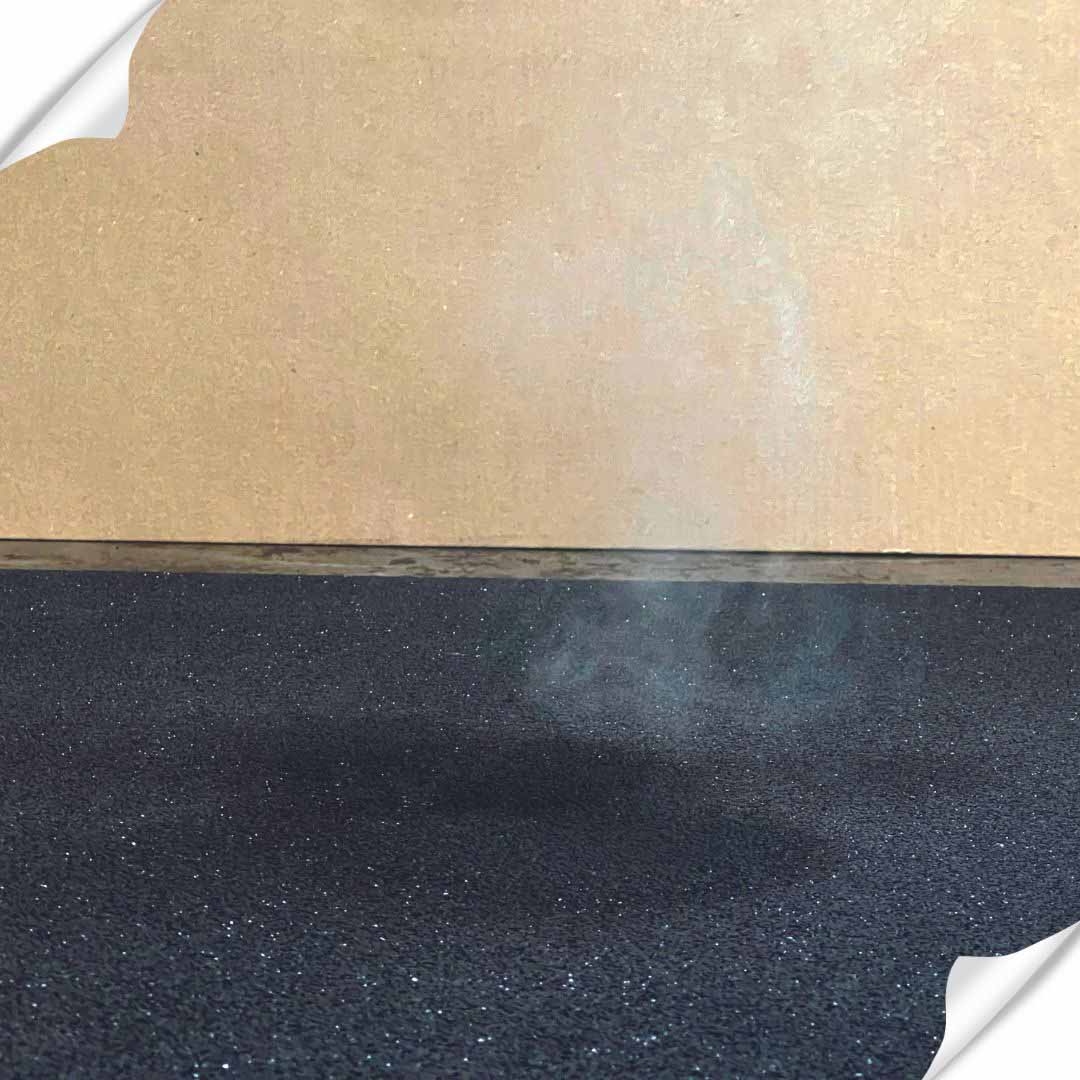
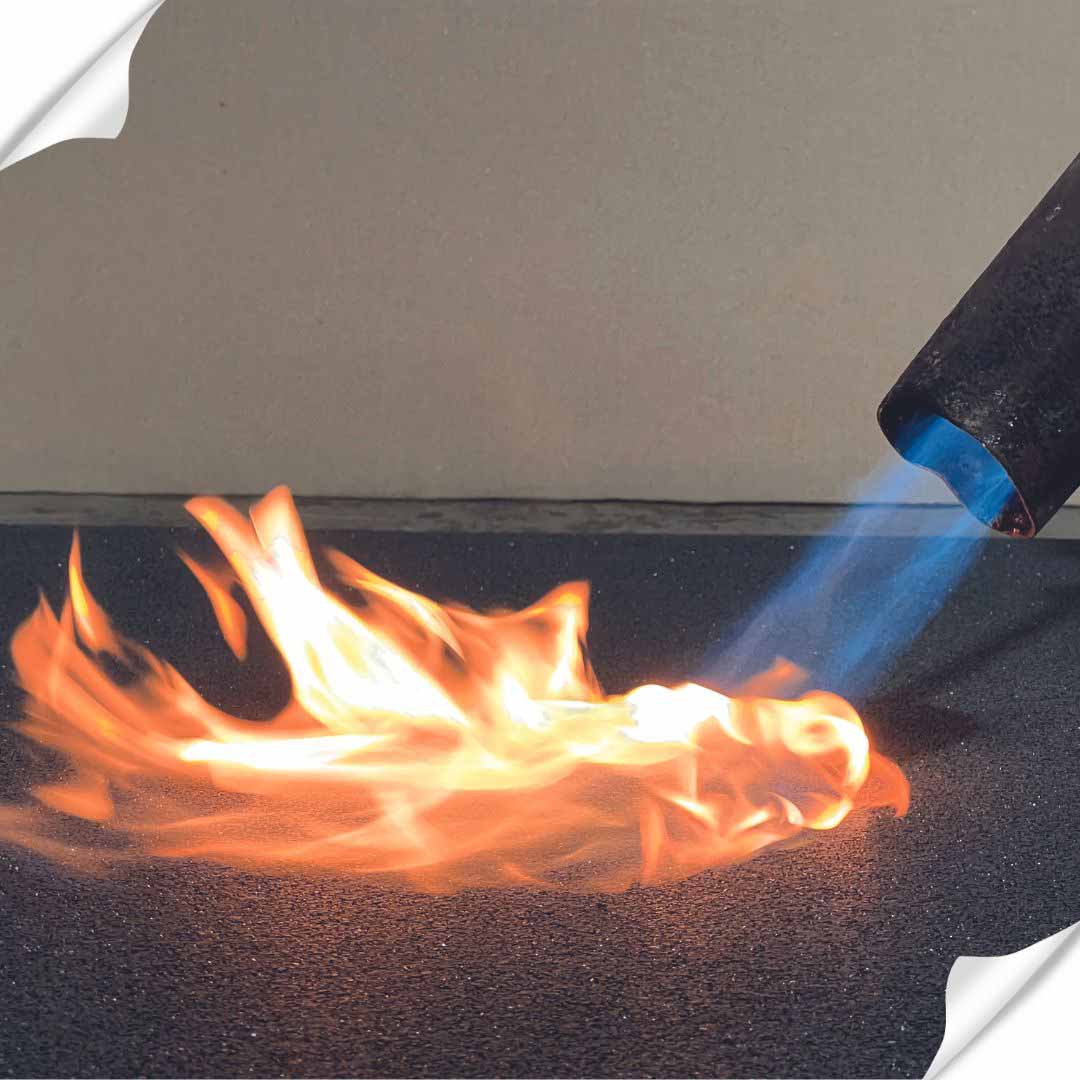
Thanks to its Bfl-s1 classification, ECO-FLAME STOP GYM can also be installed along escape routes, as this certification ensures its high reaction to fire and reduced smoke production. This means that, in the event of an emergency, the floor hinders the spread of flames and limits the formation of opaque smoke, allowing safer and faster evacuation of occupants.
Technical Specifications
The tiles have a size of 100 cm per side while the thicknesses available are many, starting from 20 mm up to the important thickness of 50 mm. One tile of ECO-FLAME STOP GYM can weigh from 18.5 to over 47 kg per square meter.
| THICKNESS (mm) | 20 | 30 | 40 | 50 |
| Side 1000×1000 | × | × | × | × |
Colors
ECO-FLAME STOP GYM plates, are available in black.

BLACK
Applications
Due to its durability and versatility, ECO-FLAME STOP GYM is a suitable solution for public and private settings, providing maximum safety and convenience.
Gyms and fitness centers: ideal for workout areas, training rooms and weight areas.
Multi-purpose sports facilities: arenas, recreation centers, indoor multi-purpose fields
Benefits
Laying Guide
The installation of recycled rubber anti-trauma flooring can be safely performed even by people who have never done this type of work before. In most cases, laying is done by simply placing the plates on the original flooring. However, it is necessary to comply with a set of procedures to ensure proper placement of the flooring. If you are in doubt, you can always contact qualified personnel for installation, a solution that guarantees the result “in a workmanlike manner!”
The following are the main points to be observed when laying tile flooring:
- Checking the existing pavement: First of all, we need to make sure that the existing pavement has no depressions or imperfections whatsoever. Proper installation involves an even subgrade.
- Site preparation: The area where the pavement will be laid must be prepared. This includes thorough cleaning of the existing pavement; all traces of dirt and debris must be removed.
- Laying the plates: We start laying the plates starting from the center of the room or the side we want to use as a guide. Preparing a draft of the laying pattern can be helpful in reducing waste and optimizing the scenic effect.
- Finishes and safety checks: After installation, it is important to check for unsealed protrusions or edges that could pose a safety hazard.
Cut
When laying in environments with complex shapes or smaller areas, it may be necessary to make custom cuts. It is advisable to use professional tools (e.g., trapezoidal blade cutters) to achieve clean and precise cuts. At this stage, make sure that the material is well stretched and secured, avoiding tension that would compromise proper installation.
FAQ – Frequently Asked Questions
CERTIFICATIONS
UNI EN 13501-1:2018
- Classification of building construction products according to their reaction-to-fire performance


